Wednesday, February 22, 2012

Sheerly Simple

The home we purchased came with window dressings on all the windows- a standard practice.  All the dressings were not even close to my style. The grey room (the son's room) had a black canvas curtain that had several tabs and buttons so that it could be adjusted to different lengths and styles.  I replaced the curtain in that room with some spruced up sheers.

So here's what I did:

I purchased some sheers from Wal-Mart for $4.88. If you wanted plain sheer curtains you can't beat the price. Plain sheer fabric would cost more.

Then I pinned three rows of ribbons spaced out evenly on the curtain. I allowed an extra 6 inches past the top of the curtain to allow for the tab to hold the curtain up.  I then sewed them on each side of the ribbon to the sheer curtain. then I folded over the extra ribbon in half, so that the tab was three inches in length.

After I hung the curtain to see how it looked, I decided it needed a few more tabs, so I measured an additional 6 six-inch ribbons, and pinned and sewed them to the curtain- evenly spaced of course.

Tuesday, January 31, 2012

Mmmm Butter

After depleting the butter I purchased over the holidays, I decided it was time to tackle the butter making process. Here's what I did:

Pour 1 quart of raw cream into the KitchenAid mixer (whisk attachment), and set it on speed 4. I covered the bowl with a dampened cloth (to prevent buttermilk from flying in the whipping process), and I let it rip for about  30 minutes or so. I used the KitchenAid because my previous attempts in the food processor and blender did not work well. The food processor base become too hot and the butter that was forming became melted, and the blender just wasn't mixing the cream at the top as well as the cream at the bottom.


After the butter formed and the buttermilk was visible like so:

I began the process of rinsing the butter. I poured off the butermilk and rinsed with water repeatedly until the liquid that was poured off was clear.

Then I poured some water in, ran the mixer for 30 seconds to wash the butter some more, and then began pushing the butter together to squeeze out any remaining buttermilk.


Once I was satisfied that I had gotten out as much buttermilk as was physically possible, I separated out the butter into 2 ounce portions (4 tablespoons), wrapped it in parchment paper, and then froze it.

1 quart produced 1 pound of butter.

A Healthy Snack

Homemade trail mix.
My snacking habits were atrocious before I went gluten free, which is hard to believe for someone who eats organic food and does a lot of cooking from scratch. Now, my options are somewhat limited. To make it easier to have some readily accessible protein, I decided to make some trail mix. Here's what I put in my mix:

Cashews
Peanuts (one of my favorite nuts, and a cheap one too!)
Almonds
Dried cranberries
Shredded coconut
Sunflower seeds
Banana chips
Dried pineapple

I eyeballed the ingredients that I put in, putting more of the cheaper stuff in and less of the sweet stuff. The pineapple that I got at Farm Market was in fairly large chunks, so I cut it into smaller pieces. The beauty of making a trail mix at home is not only does it save you money and additives, but it also allows you to customize it.

Nuts and seeds are a good source of minerals- something we all need.  All of the nuts that I put in my mix have a higher amount of magnesium then some other nuts, such as pecans or walnuts. Magnesium, is very important because it helps the body detoxify, helps prevent allergies, and helps improve skin quality and relaxation (Mercola.com).

I added the coconut because the health benefits of coconut abound.Coconut oil is one of the most saturated fats that exists, which makes it highly stable (great for cooking), highly healthy, and great for weight loss. Coconut oil is also naturally antibacterial, antimicrobial, antioxidant, and antifungal, which makes it great for your gut too (Organicfacts.net). If you want to know more about coconut oil, I suggest picking up Sally Fallon's Eat Fat Lose Fat.


Tuesday, January 24, 2012

Hello Psoriasis, my new friend

Beginning in September of last year, I developed a rash on my hands. I thought it was just some odd type of rash that would eventually go away. I tried eczema cream, coconut oil, anti-fungal cream, and lots of lotion.The new year came, and the rash was still with me. In fact, it had spread to my shoulder. I decided it was time to see the dermatologist since nothing I tried over the counter had worked.

I was diagnosed with psoriasis. I felt like I was going to cry right then and there. During the time that I had been trying to get the rash to go away by myself I had done some research. While I didn't know all the specifics of psoriasis, I did know that it was a chronic condition and one of the things I did not want to be diagnosed by a doctor.

For those who don't know, psoriasis, while a skin condition, is actually an autoimmune disease. The dysfunction in my autoimmune system causes the skin cells to produce more rapidly then they should causing the rash. It most often shows up when individuals are in their twenties (although come to find out my dad was diagnosed as a child) and about 30% of those with psoriasis have arthritis as well.

Looking back on my life, I realize now that I have had psoriasis outbreaks before. They were just never this bad. In the past I've had little spots under my arms or in the crook of my arm. Last December I had a spot on my right hand. This year I have it on my shoulder, both hands, crooks of my arms, and under my right arm.

There are some triggers for psoriasis, such as cold weather, stress, beer, and smoking. Fortunately for me, two of those main triggers are not a problem to avoid.  In September at my brother's birthday party there was the perfect storm for a psoriasis flare up- had some Oktoberfest, had stress (car broke down on the highway in NJ), and was around cigarette smoke.

Below are pictures of my hands. Prior to the regime that the doctor put me on the spots were redder, drier, and a lot flakier. My right hand, especially, is looking really good.
Right hand, after 2 weeks and a few days of treatment.

Left hand, after 2 weeks and a few days of treatment.
There is also another trigger which most conventional doctors have not really recognized yet- gluten. There's a growing number of research linking either Celiac Disease or a gluten intolerance to individuals suffering from psoriasis.  I cut gluten out of my diet after Christmas, and did see an improvement in the rash. So, I am now staying gluten free. I can honestly say, other then for convenience, I don't miss traditional flour all that much.

The crazy part is that since I've been gluten free for almost a month now, some things don't taste like they used to. I find Reese's Peanut Butter Cups and Pieces to be rather bland. That is nothing less then a good thing.

Now that the gluten free journey is just beginning I hope to post good GF recipes when I find them or develop them.

Hugs!

Wednesday, December 14, 2011

It's like buttah!

One of the neat things about living in Northeastern Ohio is that I am able to have access to be a part of a herdshare where I can get milk and other dairy products directly from the Amish. I love being a part of it because it allows me to be closer to my food source, and I get to help support the local agricultural industry. In addition to that, I actually own part of the herd. I have cows!

I've been a part of the herdshare for about 3 months or so, and have been really pleased with the quality of milk and cream that I am able to get.

Since I'm able to get excellent quality cream from my cows I have started to make my own butter. I must confess, it is not quite as easy as I thought....well, it is and it isn't. The actual process of making butter is exactly as easy as it seems- beat the cream until it goes from whipped cream to condensed and hard, and well, butter.  To my surprise there are some slight nuances to making butter. I have only found this out through trial and error.

Here are my findings so far-

  1. If you whip it in a KitchenAid, be sure to cover the bowl with dishcloths.  If you don't, you'll end up with buttermilk all over the place.
  2. A food processor isn't really the best way. It can over heat and then the butter will melt, which will not only mess up the consistency, but also make it too difficult to tell if it is in fact finished processing.
  3. You need to no only pour off the buttermilk, but wash the butter until all the buttermilk is gone. If you do not do a good job of washing the buttermilk, or simply omit it (as I have been doing from sheer ignorance) the butter will go bad REALLY quickly.
  4. There is sweet cream butter and there is cultured butter. Cultured butter is made by first letting the cream sit out at room temperature for 8 hours.
  5. I'm pretty sure that Sally Fallon says you can actually use that buttermilk in cooking, but it is upstairs and I am downstairs. I'll check on that later and edit this post. 
I'll be making more butter on Tuesday and I'll be sure to wash it and add some salt. I'll let you know if I have more success.

Tuesday, June 21, 2011

My New Garden

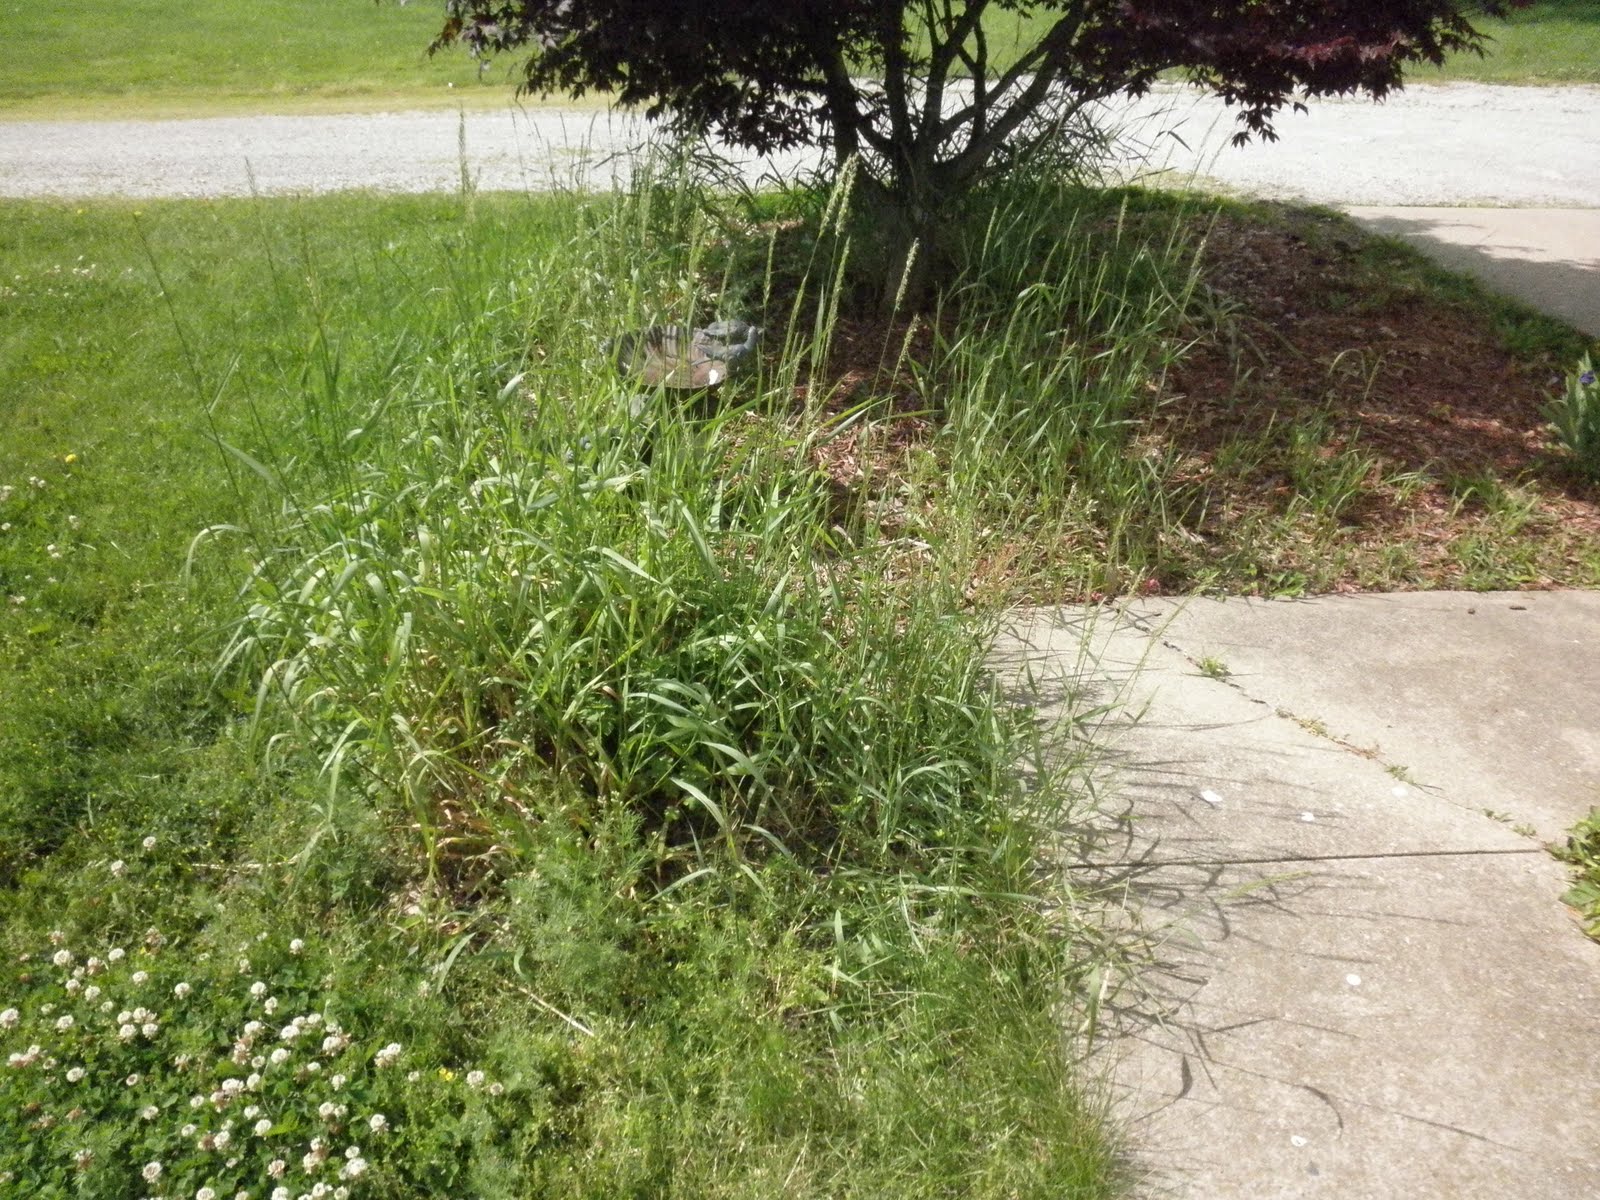
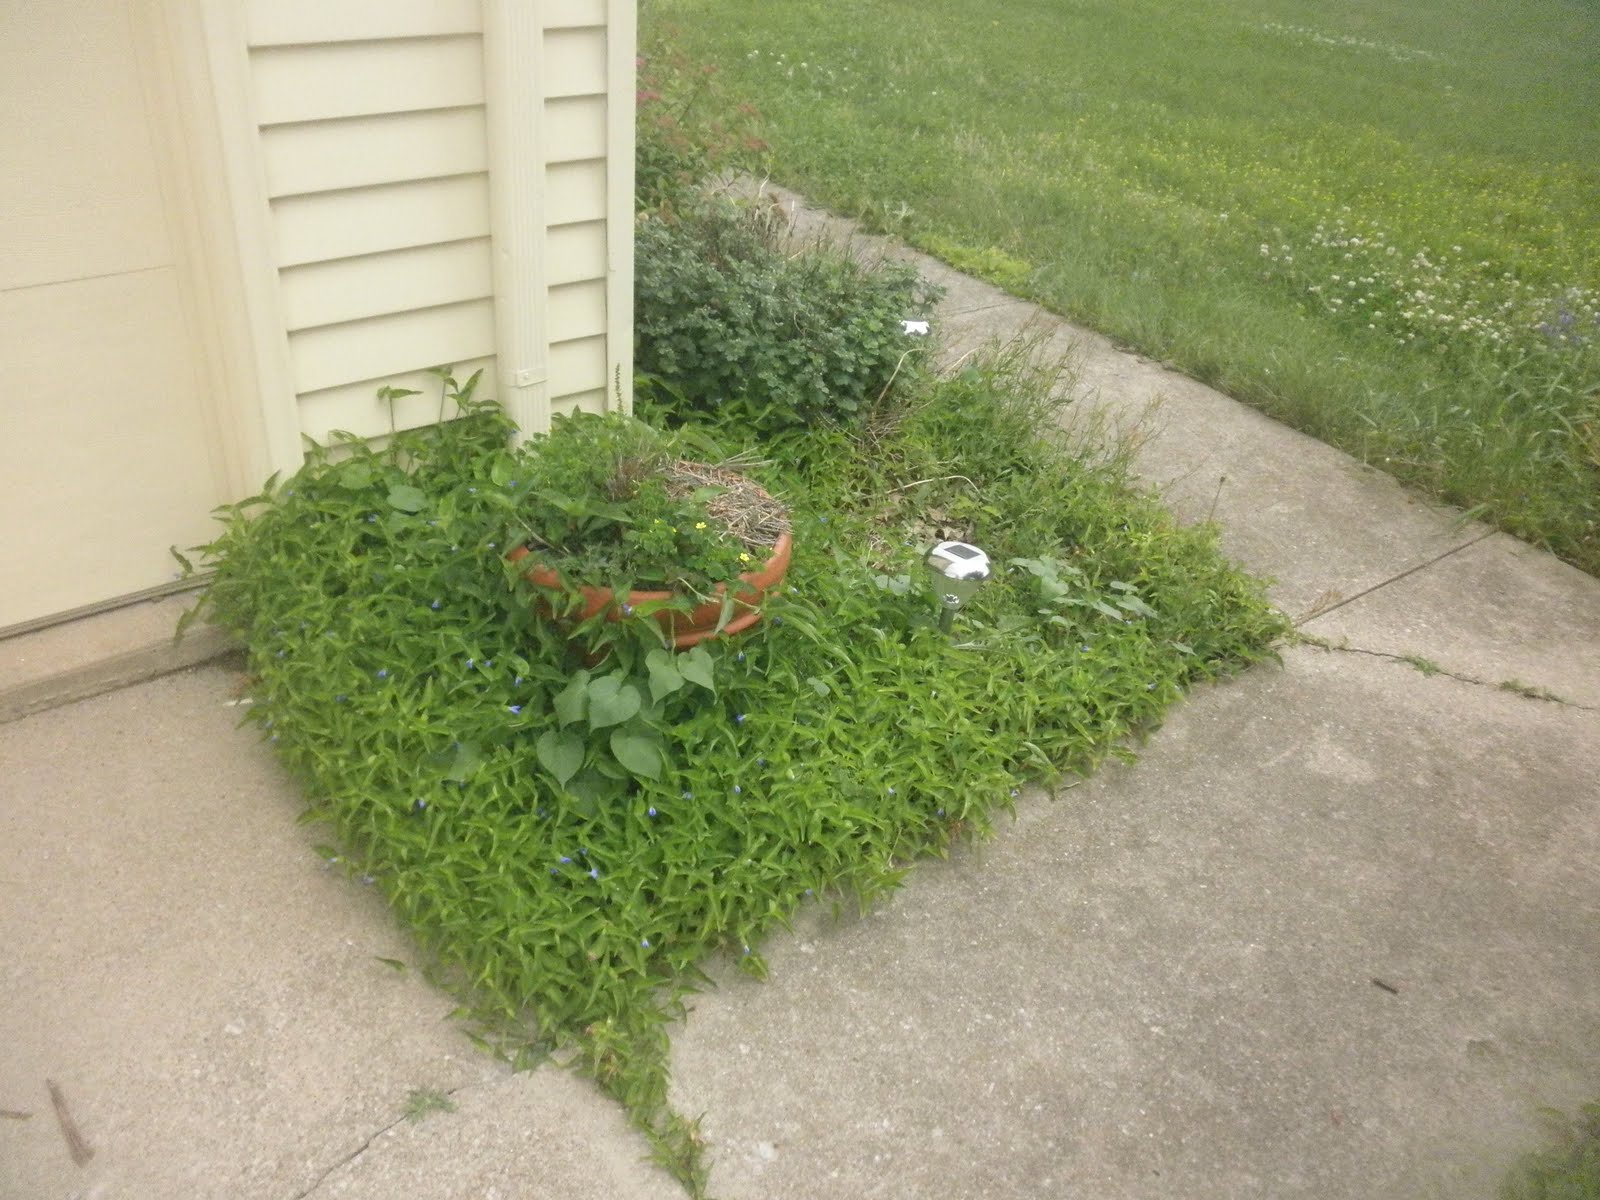
As you know, I recently moved into a home. I love my home, but I hate that the seller's stopped weeding when they put the house on the market six months ago.  I think I may have some of the world's tallest weeds. I may call the Guiness Book of World Records.  Here are some pictures of the flower beds around the house.

I'm not done. I might be 30% done with weeding. There's just so much! I also need to find a good mulch to put out in the beds.

Before:


Two areas for growing veggies...once I reclaim it from the weeds.


 After (only some sections done):


Close up of Veronica


Elderberry
Hydrangea


Creeping Baby's Breath

Butterfly Bush

Rosemary, Basil, and Spearmint
Cilantro and Parsley


Tiger's Eye


The Breville Smart Oven

This is my new favorite small appliance! 

The Breville Smart Oven is probably the best toaster oven ever. Breville earned both Consumer Report's and Cooks Illustrated's highest marks, excelling in every category.

Our experience has been the same as both the reviewers above. The toaster toasts evenly and perfectly. The interface is so easy to use- something I truly appreciate. The ease of use makes it so easy for my husband to just go and heat something up. The oven is also pretty.

The toaster oven is not just a plain toaster oven, but a convection oven, which makes cooking in general more even and efficient.  The toaster has the following features: toast, bagel, roast, bake, pizza, reheat, broil, cookie, and warm, and they have each rack position labeled! There's also a button for frozen, which allows the toaster to adjust the cooking time if say, you store bread in the freezer. Such a breeze! The oven is also large enough to fit a 9x13 sized pan. You could bake a cake in there if you wanted. I even roasted two Cornish game hens- they came out really well considering I didn't have a thermometer to check the temperature.

The only downside to this appliance is the price tag. It's about $250 depending on where you buy it. Save up and treat yourself. You won't regret it.